
Below is everything you’ll need for your observation cycle. If you’d rather review it in smaller pieces, you can use the links below to jump to specific sections.
| Jump To: | ||
| Self-Assessment | Professional Objective | Observations |
| Proof & Artifacts | Notes & Discussion | Reflection |

You’ll complete your self-assessment using the rubric your district has indicated that you should choose.
From your MobileMind Backpack page, use the left sidebar to switch to your Evaluations page.


Select the rubric your district has indicated they would like you to use for your self assessment. Click "Let's Begin" and fill out your rubric.


You’ll see a "Save Progress" button in the upper left. Your work saves automatically, but you can click this button at any time for added peace of mind.

You’ll also see a space at the bottom of your rubric where you can add any additional notes you’d like to include. Once you have completed everything, click "Submit Rubric". Once submitted, it can no longer be edited.


On your Evaluations page, you will now see:
-
Section labeled with the current school year.
-
Rubrics completed outside of the current school year.
-
Click the drop-down arrow on the left of the School Year section to expand and view the details for that year.


Click your self-assessment to reopen and review what you submitted. Once submitted, it can no longer be edited.


Once you’ve completed your self-assessment, your next step is to set your Growth Objective.

Click the “Select Focus Areas” button. You’ll see the same domains you used in your self-assessment listed as options.
Choose the ones you would like to use as your Professional Objective(s) for this school year and the click the green "Select" button.
You will see the options you chose under the Professional Objective title.


Now it is time to write out your objectives related to the focus area(s) you selected.

Tip: You can use your Genie AI tools to help you write a strong SMART Goal.
Open a new MobileMind tab and select "AI Genie" from the blue banner at the top of your screen, then choose "SMART Goal Writer" from the bottom section.


Enter your focus areas and any other relevant details, then click the green "Search" button at the bottom.

Genie will draft the goal for you. If you’d like to revise it, use the controls in the bottom left of this screen to ask Genie for changes, or click the copy icon in the upper right to copy and paste the goal into your Growth Objective.

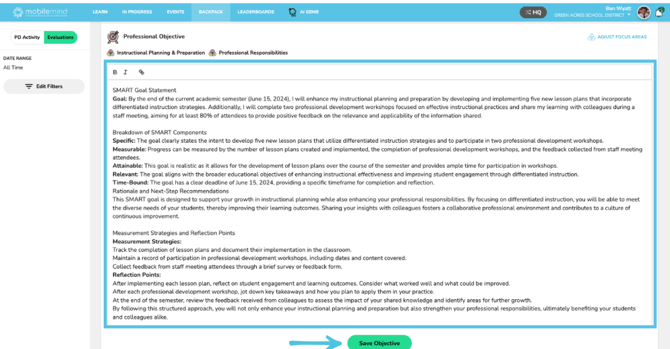
Now return to the Evaluations tab of your Backpack page and paste your goal into the Professional Objective box and click Save Objective at the bottom.

The Observations section is where you’ll see all of the rubrics that observers complete for you throughout the year.
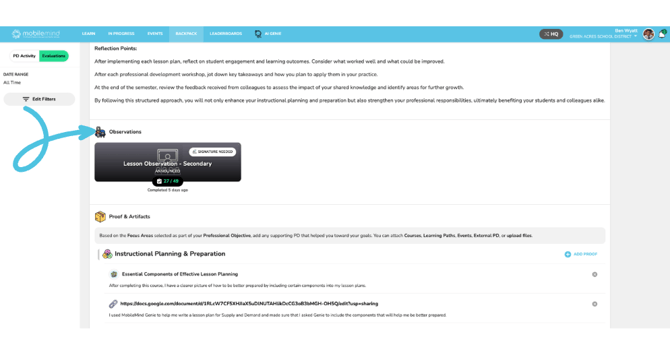
Once an observer submits a rubric, its status will show as Awaiting Signature. Open the rubric to review the feedback, then scroll to the bottom. On the left, you’ll see any additional comments from your observer. On the right, you can add your own comments and then click to acknowledge that you received and reviewed the rubric.


Whenever you complete professional learning or take an action in your role that connects to one of your focus areas, you can upload an artifact to show evidence that you’re working toward your goal.
In the Proof & Artifacts section, you’ll see the focus areas you selected listed. On the right side of each row, click “Add Proof.” From there, choose the type of artifact you want to upload—this could be something you’ve completed in MobileMind or an external item, such as a file or a link.


After you’ve selected your artifact, a text box will appear where you can briefly explain why you chose it and how it demonstrates your progress. When you’re satisfied with your explanation, click the green "Add" button.


In the Notes and Discussion section, you can add comments or questions, and your observer may also highlight items they’d like you to notice. Your observer’s notes will appear in a white box, and yours will appear in light green.
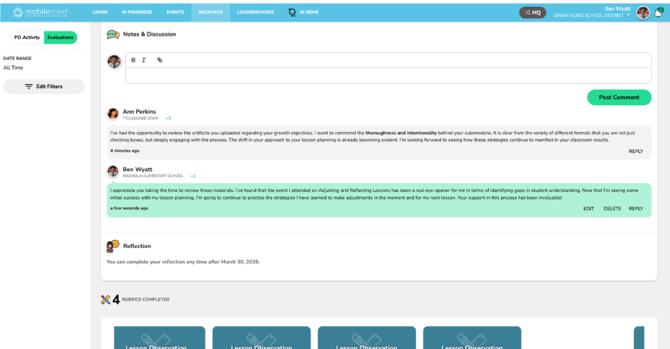

Towards the end of the school year, this section will expand to include a space for you to reflect on your Professional Objective(s), along with a summative score for all of your observations.
